


Great Pi-deas October '24
Tips to pie with ease.

Hello from NL 60. This is Bake Sense. A space to champion flavour and the thoughtfulness of knowing your ingredients well. It’s a place that welcomes interaction, a hopeful extension of life beyond my bakery, Nova Bakehouse.
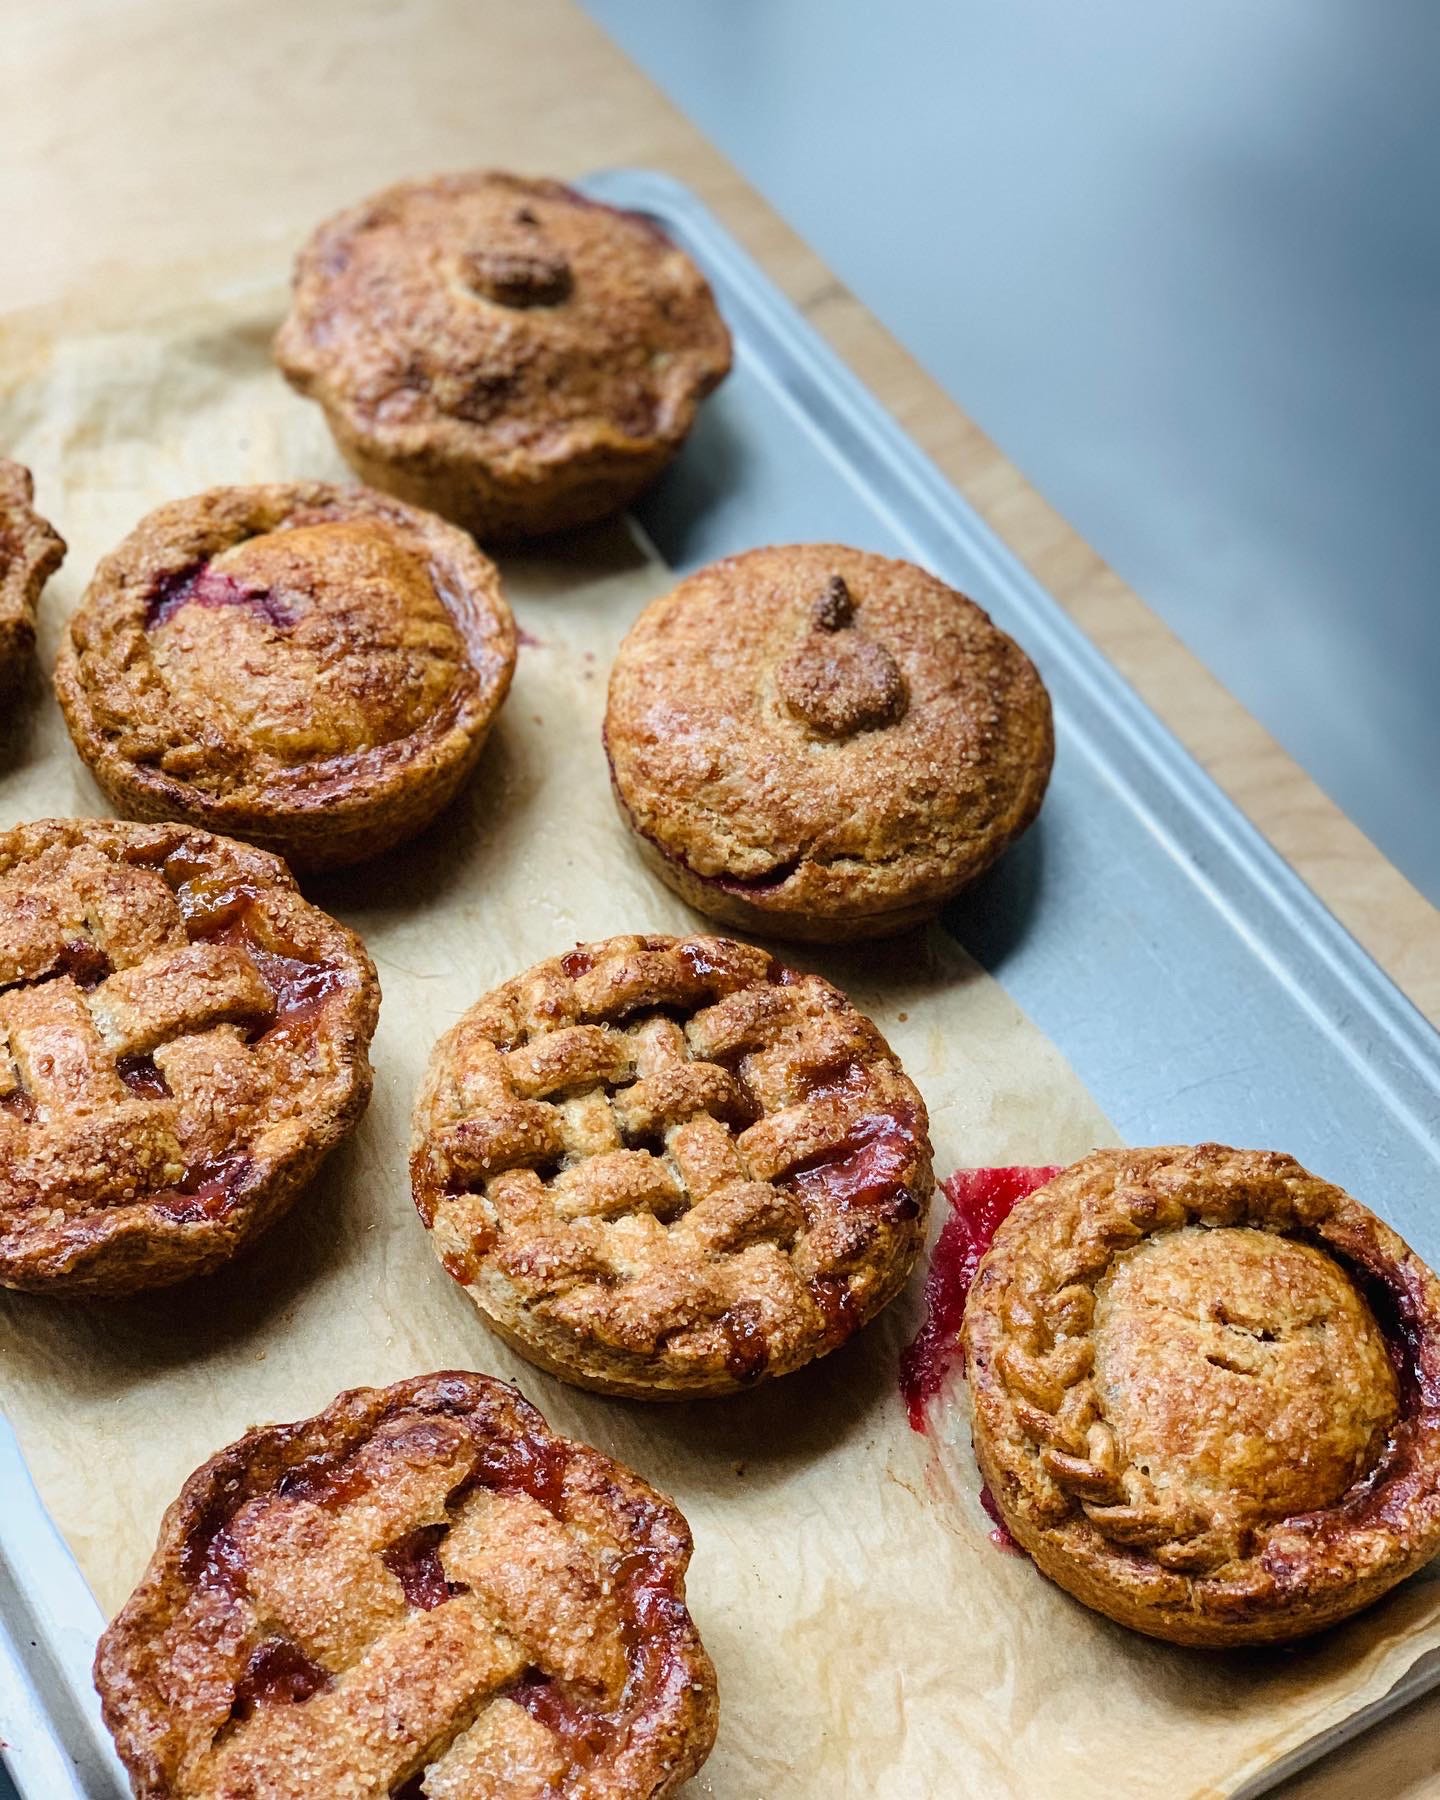
Although I firmly believe there are pies for all seasons, the appeal of pastry filled pie plates crammed with fruit and sweet spices becomes particularly potent in October and November. With a kitchen full of apples and a recent insurgence of pears, pome pies are high on my mind.
I often get asked how to go about making pies, especially the fruit kind and as there are so many variables involved, I thought it useful to share my experiences here with you in the hope it might unveil something that will take your pie making to new heights or at least make the process a whole lot more streamlined and approachable.
And for subscribers to the Extra Credit portion of the newsletter I’ll be sharing a pie adjacent recipe for a super savoury, deep dish quiche. It utilises my preferred Pâte Brisée recipe and a filling that is endlessly versatile to make the most of all the winter greens, alliums, squashes, roots and tubers that are coming our way.
The Plate
Pie success begins with the vessel and priming it to serve you well. There are lots of options out there, from glass to enamel, ceramic to cast iron, each has its merits but deep down, I’m team enamel.
Why enamel?
In my experience I get a better, more even, crisp bake with an enamel pie plate, it conducts heat well and you can achieve good contact between pastry and plate. They’re lighter and stack a whole lot easier than glass, ceramic or cast iron (which, granted, is not a deal breaker for those that need just one pie plate).
These ones have served me well in the past and are the ones I recommend when teaching classes.
To prepare them I lightly and evenly butter the whole inside of the pie plate, being careful to cover all indents, ridges and the upper outer rim of the plate. When it’s time to line, make sure your pastry is rolled out to 3-4mm thick and an inch wider in diameter than the pie plate. Drape the rolled out pastry over the plate and gently but firmly press so all parts are in contact with the plate and any pockets of air are expelled.
The Pastry
There are endless recipes for the ‘best’, the ‘flakiest’, the ‘easiest’ and the ‘ultimate’ pie crust out there but the perfect pie crust is the one that works for you, the one you trust and have the knack of. Rather than being hung up on the exact proportions of butter to flour, the addition of vinegar or vodka, salt or sugar, focuss instead on the following two things -
How you manipulate the butter, (i.e. the technique for combining the butter with the flour).
Hydration of the dough.
Consider how flaky you want your pie crust to be and know that the outcome will depend on how much and the way in which, you work the butter into the flour.
For the most flaky, press a the butter into large flat shingles, the largest being around 3/4 inch.
Flat shingles of fat create flakier textures when combined with simple letter folds to bring the dough together to its final mass. In contrast 3D, pea sized pieces and butter rubbed in until rubbly will create fewer flakes but a tender result nonetheless.
Remember that there are merits in not aiming to achieve layers upon layers in your crust, especially if you’re using large proportions of wholemeal flour or more fragile wheat varieties. Whilst large layers look the part, they are not always structurally sound for heavy or high liquid fillings.
When it comes to adding the water be willing to accept that there will never be a fixed amount required. Each time you make pie dough you’ll have to use all your senses and intuition to know when it’s just right. I call this intuitive baking practice and that comes with repeating a recipe over and over.
The dough should hold together enough that it isn’t completely crumbling apart but it should not be so homogenous and developed that it appears completely together either. A few stray flakes here and there are preferable to sticky dough which is a sure sign of overhydration. As the pastry rests the hydration will even out and the later rolling of the dough will further contribute to a pastry ready to perform at its peak.
The Fruit
Apples and pears are bountiful right now, seasonal, widely available and relatively inexpensive when compared to purchasing fruit during summer berry season. You get a lot of bang for your buck and as sturdier fruits, there are more than few options when it comes to preparing them for your ideal pie.
To peel or not to peel?
I am pro peel, it’s a step that you can forgo for flavour, colour and texture. However some organically grown and less commonly cultivated heritage varieties are more susceptible to bruising or tough blemishes, in this I peel away the affected areas as needed.
To dice or slice?
This is ultimately personal preference but it can impact the sliceability of the pie and the amount of fruit you can fit into the pie.
Crescent style slices make quick work of kilos of fruit but it can be more tricky to pack in enough and as the pie cooks, the fruit looses volume and shrinks, leaving a hollowed out space between filling and crust.
Dicing the fruit will make for shapes that pack in more tightly so even allowing for shrinkage, there is less likely to be gaps between filling and crust.
Raw or pre-cooked?
We’re maybe conditioned to think that precooking a fruit filling before assembling the pie is some sort of cheat, or at least not the ‘proper’ way to do it but it’s my favourite way to fruit pie. The benefits are numerous, it removes uncertain variables, thus offering far more consistency, ensures your filling is prepared to your preferred taste and texture and streamlines the whole pie making process. These factors are imperative for the production of pies in a professional bakery setting but are equally as time and cost saving in the home kitchen where any spare time and money invested is sure to pay off with a result you’re happy with.
My favourite way to precook fruit fillings is to macerate the fruit to draw out the juices before cooking to the desired texture on the hob or stovetop. You remain in control of how juicy the pie will be and have the chance to cook out the starch, removing the guess work and ensuring a sliceable filling over one that collapses and runneths over.
The method allows you to make adjustments based on the ripeness of the fruit and its inherent cooking character, you can even add a portion of raw fruit to the precooked portion to layer textures. Take apples for example, the route to a great apple pie is to combine different varieties; culinary types that will fluff up, contrasted against firmer ones that hold a bite. Precook the fluff portion and combine with raw diced apple.
Precooking your filling also helps you control how juicy that filling gets, you can cook out the starch and get a good idea of how set the final filling will be, taking the guess work out of it.
The Assembly and Bake
For a streamlined pie making process go for a streusel topped pie with a pre-cooked filling, every stage can be broken down into manageable steps. The following schedule keeps thing accessible and doesn’t tie you to the kitchen for a whole day.
Up to 1 week ahead -
Make the streusel topping and store in the freezer
Up to 2 days ahead -
Make the pie pastry
Pre-cook the fruit pie filling
Up to 1 day ahead -
Line the pie plate and blind bake
Pie Day -
Fill the pie case with the pre-cooked filling, top with streusel straight from the. freezer and bake.
For more pie related ides and recipes see these previous editions of Bake Sense, here and here.
Just ordered 2 of the pie plates you mentioned!
I would never have thought there was so much significance in the type of plate used - now I know!! Thank you